Overview of the Growing Cycle
Growing vegetables from seed in plastic bags involves several distinct stages. Understanding each stage helps you anticipate what the plant needs at any given point and respond to changes effectively.
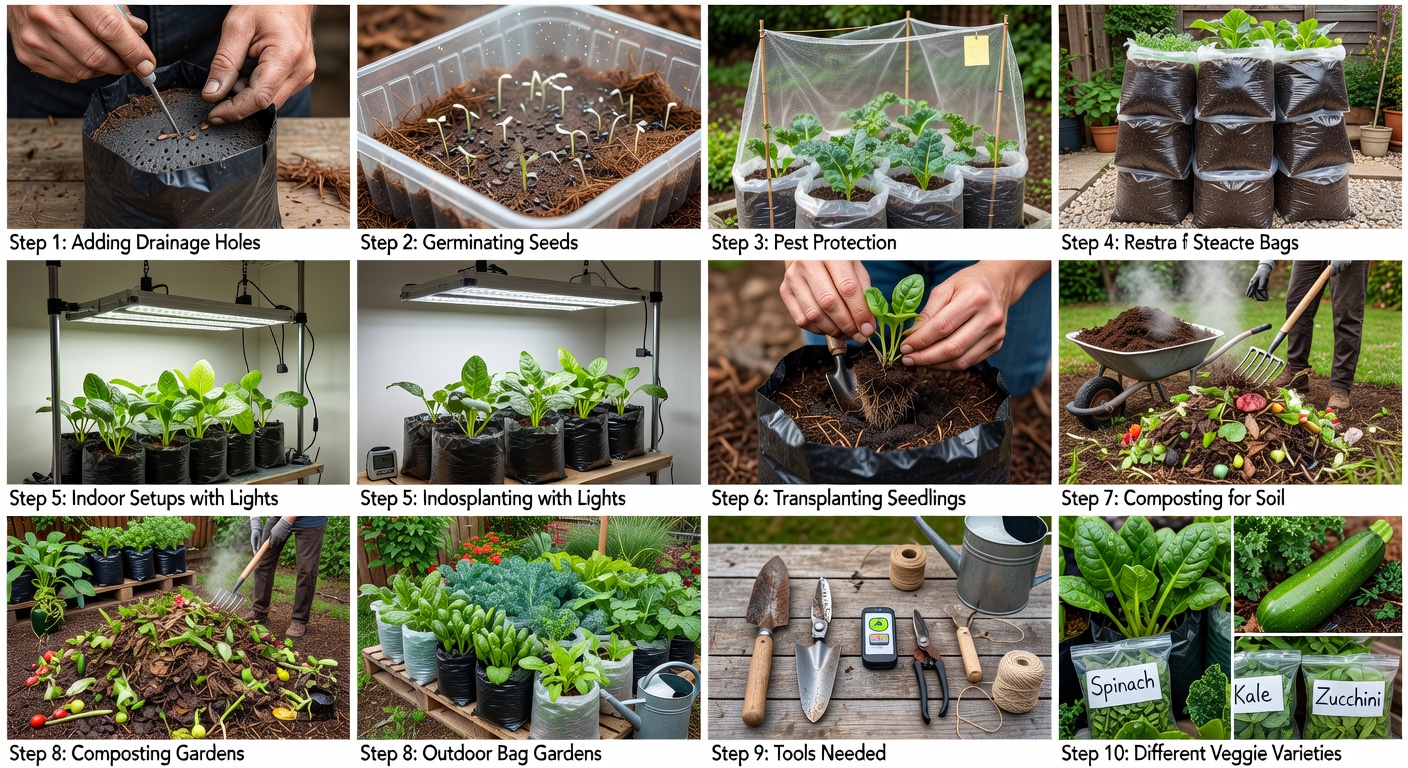
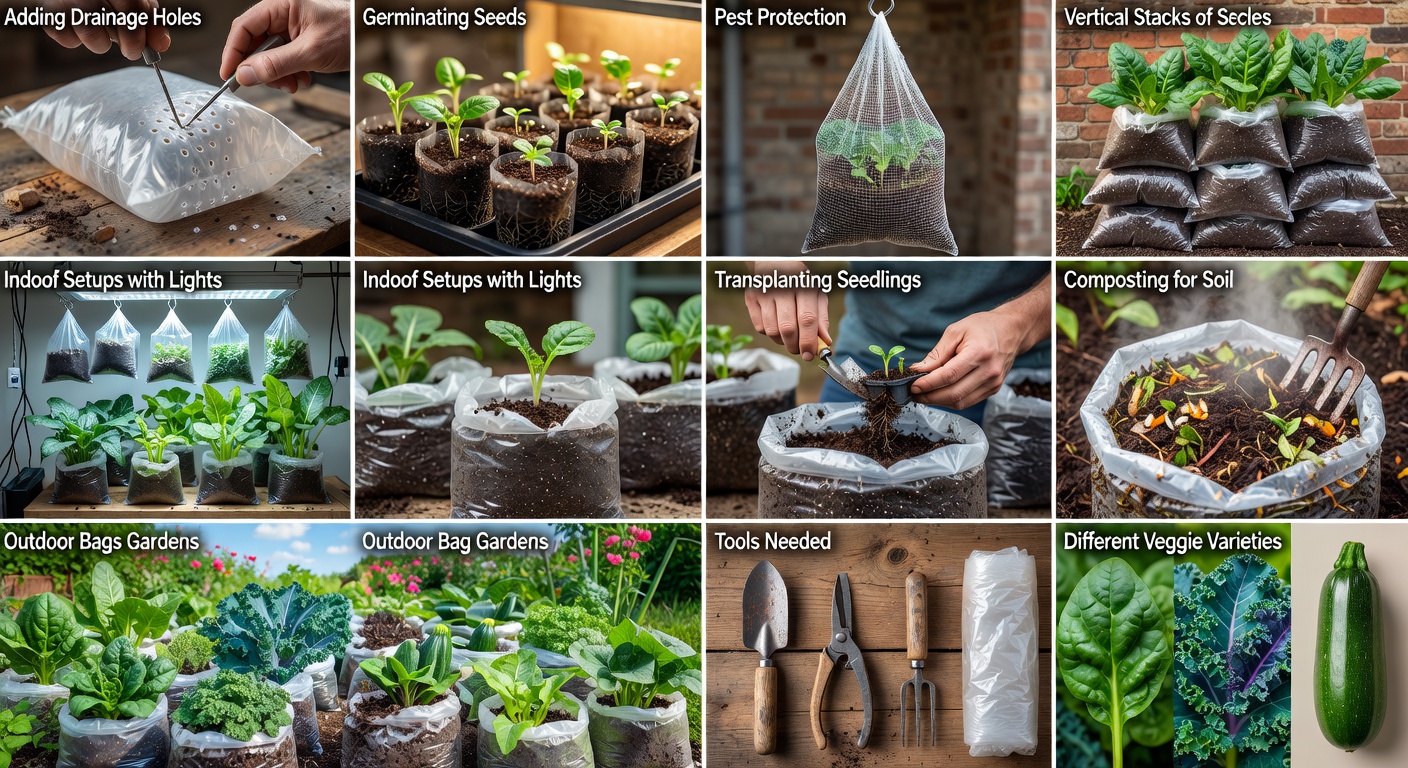
Stage 1: Sowing Seeds
Seeds can be sown directly into prepared grow bags, or started indoors in small seed trays and later transplanted. Direct sowing is simpler but requires managing multiple seedlings per bag initially. Starting in trays allows you to select the strongest seedling before committing it to a bag.
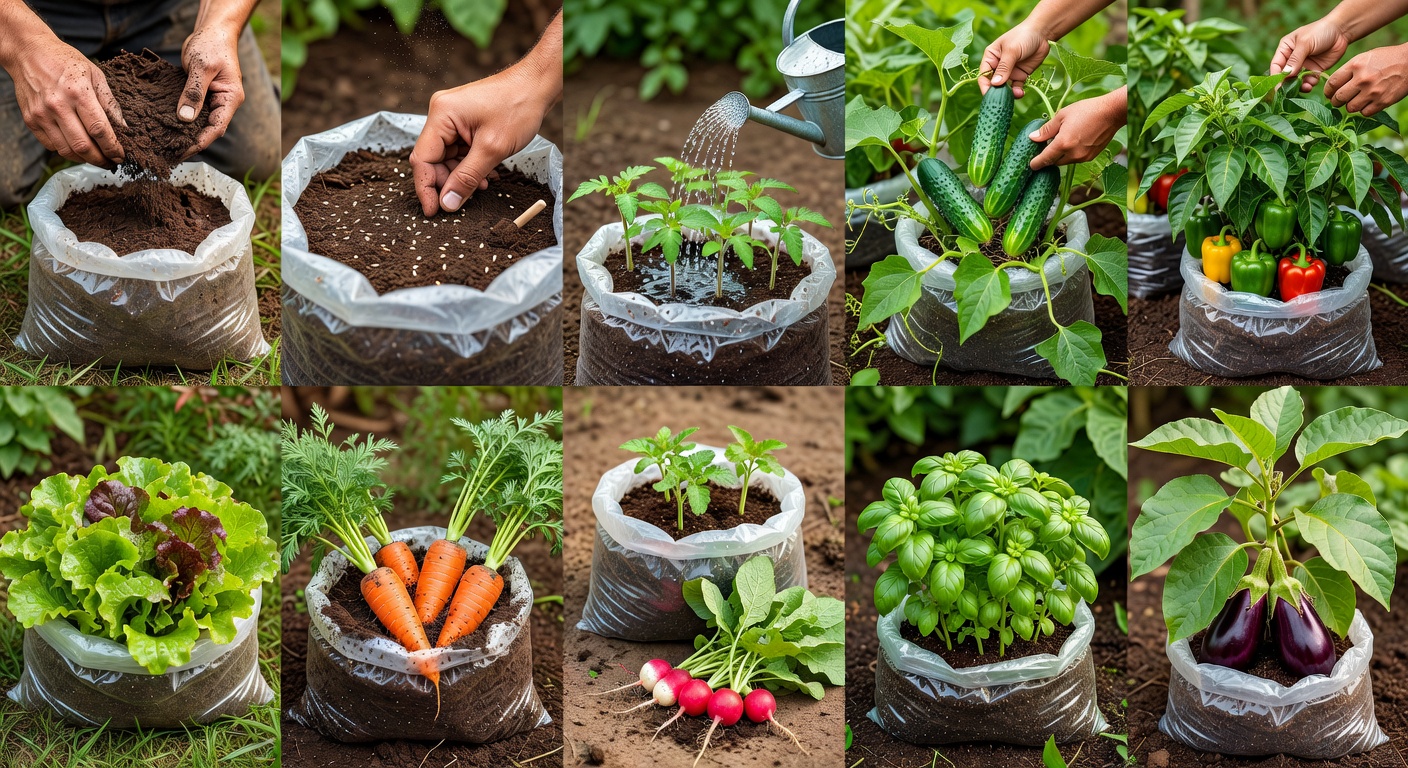
Direct Sowing
- Fill the bag with prepared soil mix and moisten thoroughly
- Create a small indentation in the soil (depth specified on seed packet)
- Place 2–3 seeds per planting point to account for non-germination
- Cover lightly with soil and press gently
- Label the bag with variety and sowing date
- Keep soil consistently moist (not saturated) until germination
Starting in Seed Trays
- Fill small seed cells or trays with seed-starting mix
- Sow one seed per cell at the specified depth
- Keep in a warm location (18–24°C is suitable for most vegetables)
- Cover with a clear lid or plastic wrap to retain moisture during germination
- Remove cover once seedlings emerge
- Grow seedlings under adequate light until they have 2–3 true leaves before transplanting
| Vegetable | Germination Temperature | Days to Germination | Sowing Method |
|---|---|---|---|
| Tomato | 20–25°C | 7–14 days | Start in trays |
| Pepper | 22–28°C | 10–21 days | Start in trays |
| Lettuce | 15–20°C | 4–7 days | Direct or trays |
| Radish | 10–20°C | 3–5 days | Direct sowing |
| Cucumber | 20–25°C | 5–10 days | Start in trays |
| Spinach | 10–18°C | 7–14 days | Direct sowing |
If multiple seeds germinate at the same location, remove the weaker seedlings by snipping them at soil level with scissors. Do not pull them out, as this disturbs the roots of the remaining plant.
Stage 2: Seedling Care
Once seeds have germinated and produced their first true leaves, they enter an active growth phase. During this stage:
- Ensure consistent light — at least 6 hours of direct sun per day outdoors, or supplemental grow lights if indoors
- Water whenever the top 2 cm of soil feels dry
- Begin light liquid fertilisation once the plant has 3–4 true leaves
- Protect from extreme temperature fluctuations
Stage 3: Transplanting Seedlings
Seedlings started in trays should be transplanted into their final grow bags once they are large enough to handle and the risk of frost has passed (for outdoor growing). Transplanting too early results in shock; transplanting too late can cause root-bound stress.
-
1
Water Before Transplanting
Water the seedling tray and the grow bag thoroughly one hour before transplanting. Moist soil reduces transplant shock and helps roots settle quickly.
-
2
Make a Planting Hole
Use a trowel to create a hole in the centre of the bag slightly larger than the seedling's root ball.
-
3
Remove Seedling Carefully
Gently tip the seedling from its cell, keeping as much soil around the roots as possible. Avoid pulling by the stem.
-
4
Place and Backfill
Set the seedling at the same depth it was growing in the tray (or slightly deeper for tomatoes, which root along buried stems). Backfill with surrounding soil and press gently.
-
5
Water and Shade
Water gently immediately after transplanting. If possible, place the bag in light shade for 2–3 days to help the plant adjust before returning it to full sun.
Stage 4: Active Growth and Pest Management
During active growth, plants require consistent watering, regular fertilisation, and monitoring for pests and diseases. For detailed watering guidance, see the Watering & Care page.
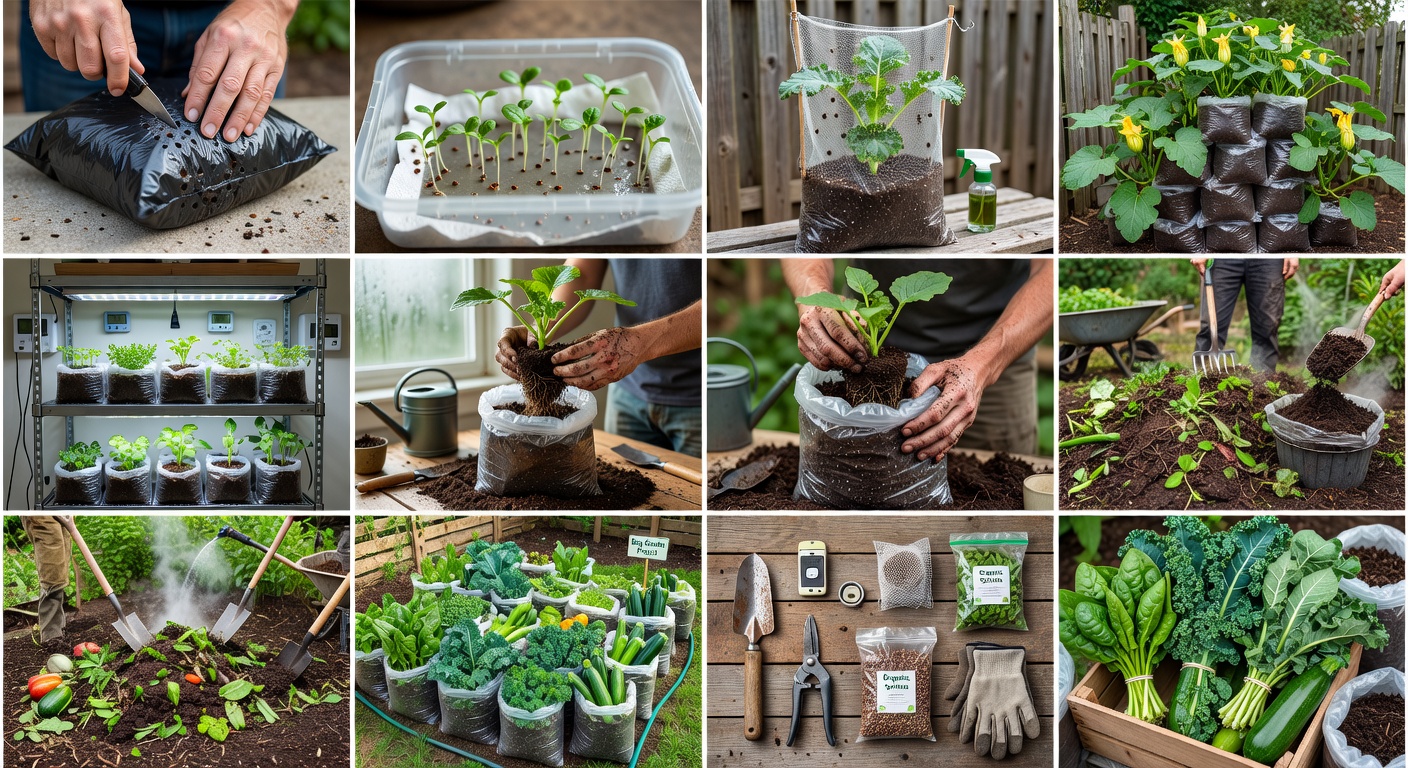
Common Pest Management Methods
| Pest | Signs | Method |
|---|---|---|
| Aphids | Clusters of small insects on new growth; sticky honeydew | Remove by hand or rinse with a stream of water; apply insecticidal soap if needed |
| Caterpillars | Irregular holes in leaves; frass (droppings) on leaves | Remove by hand; use fine mesh netting as a physical barrier |
| Slugs / Snails | Silvery trails; irregular leaf damage | Place bags on raised surfaces; use slug traps if necessary |
| Spider mites | Fine webbing on undersides of leaves; pale stippled leaves | Increase humidity; apply neem oil or insecticidal soap |
| Powdery mildew | White powdery coating on leaf surfaces | Improve airflow between bags; remove affected leaves; reduce overhead watering |
Stage 5: Harvesting
Harvesting at the correct time preserves the flavour and encourages continued production in repeat-fruiting plants such as tomatoes, peppers, and cucumbers.
- Leafy greens: Harvest outer leaves as needed; allow the plant to continue growing from the centre
- Tomatoes: Harvest when fully coloured and slightly soft to the touch
- Cucumbers: Harvest before they turn yellow; regular harvesting encourages more fruit
- Peppers: Harvest green or allow to ripen to red/yellow/orange — both are edible at different stages
- Radishes: Harvest promptly once mature; leaving them too long causes them to split or become woody
After the final harvest, remove plant material from the bag and allow the soil to dry slightly. Store bags in a dry location or refresh the soil and replant with a suitable winter or spring crop. See the Soil & Nutrients page for guidance on refreshing soil between seasons.